Table of Contents
Introduction
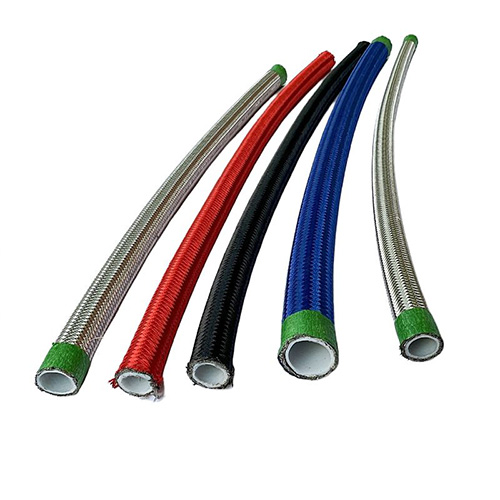
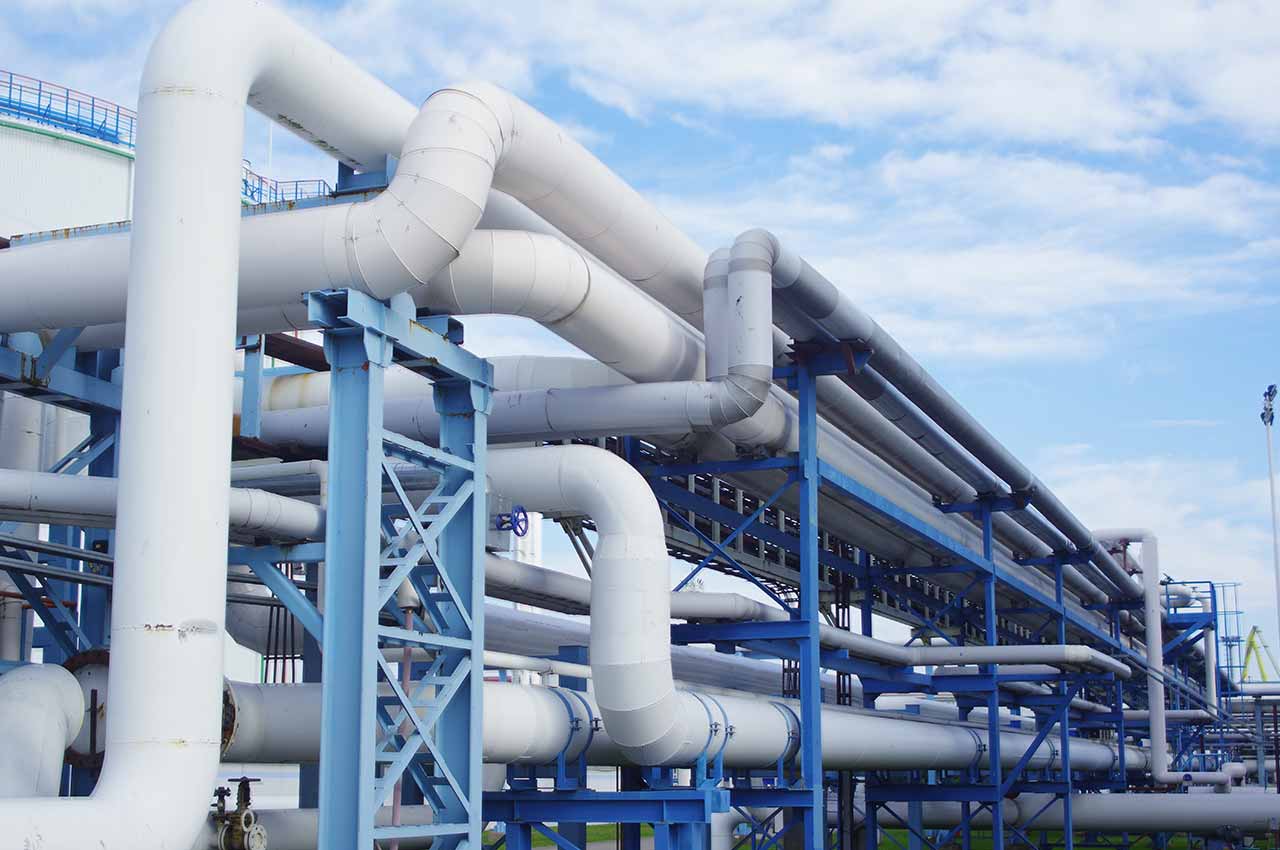
Hydraulic connectors are integral components of hydraulic systems, ensuring the transfer of fluid and maintaining system pressure. These connectors come in various designs and materials, depending on the needs of the system. However, poor installation can lead to system inefficiency, leaks, and expensive downtime. For B2B buyers involved in the installation and maintenance of hydraulic systems, understanding the proper installation methods for hydraulic connectors is crucial.
This blog provides six simple, yet critical, steps to ensure hydraulic connectors are installed properly, ensuring system efficiency, safety, and longevity. By following these steps, businesses can minimize the risks associated with incorrect installations, leading to reduced maintenance costs and better system performance.
1. Choose the Right Hydraulic Connector for Your System

Selecting the right hydraulic connector is the first and most important step in ensuring a durable and efficient system. The connector must be compatible with the system’s pressure, fluid type, temperature range, and mechanical requirements. When selecting hydraulic connectors, consider the following factors:
Factors to consider when choosing hydraulic connectors:
- Pressure rating: Ensure the hydraulic connector is rated for the maximum pressure that the system will experience. A connector that cannot handle the required pressure can fail under load.
- Fluid compatibility: Choose connectors made from materials that are compatible with the fluid used in the system (e.g., oil, water, or glycol). Using the wrong material can cause corrosion or degradation of the connector.
- Temperature range: Make sure the connector is suitable for the temperature ranges that your hydraulic system will operate within.
- Size and type: Hydraulic connectors come in various sizes and types (e.g., push-to-connect, threaded, or flanged). The right size ensures a secure fit and prevents leakage.
Incorporating the correct type of connector reduces future maintenance costs and helps in achieving optimal system performance.
2. Check for Cleanliness Before Installation
Contamination is one of the biggest enemies of hydraulic systems. Even the smallest particles of dirt, debris, or dust can cause significant damage to seals, pumps, valves, and connectors, leading to leaks, reduced performance, and component failure. To avoid these issues, cleanliness should be a priority during the installation of hydraulic connectors.
Steps for ensuring cleanliness:
- Clean all parts thoroughly: Use lint-free wipes or clean cloths to remove dirt, oil, and debris from connectors and surrounding components.
- Use proper solvents: For stubborn grime, use appropriate cleaning agents that will not damage the connector material or compromise the hydraulic fluid.
- Inspect the connectors: Before installation, check each hydraulic connector for any visible contaminants and ensure that the sealing surfaces are pristine.
The cleaner the parts before installation, the fewer the chances of failure or costly repairs down the line. Regular maintenance of cleanliness also reduces the wear on system components.
3. Properly Align Hydraulic Connectors
Misalignment during the installation of hydraulic connectors is a leading cause of system inefficiency, leaks, and premature wear. Ensuring proper alignment during installation is key to achieving a tight, secure seal and preventing undue stress on the connector.
Alignment tips for hydraulic connectors:
- Ensure the connectors are in line with the pipes or hoses: Before tightening, make sure that the connector is properly aligned with the corresponding equipment. This prevents the connector from becoming strained.
- Use alignment tools: Hydraulic alignment tools, such as jigs or brackets, help ensure connectors are installed at the correct angle, reducing the risk of misalignment.
- Avoid angular misalignment: When hydraulic connectors are not aligned properly, it can cause excess pressure on the seals, leading to damage.
Alignment also impacts the overall durability of the hydraulic system, ensuring smoother operation and fewer leaks over time.
4. Torque Specifications Matter
Correctly torquing hydraulic connectors is crucial to securing a proper seal and preventing system failure. Over-tightening can damage the connector, deform seals, or lead to material fatigue, while under-tightening can result in leaks or loose connections.
How to torque hydraulic connectors properly:
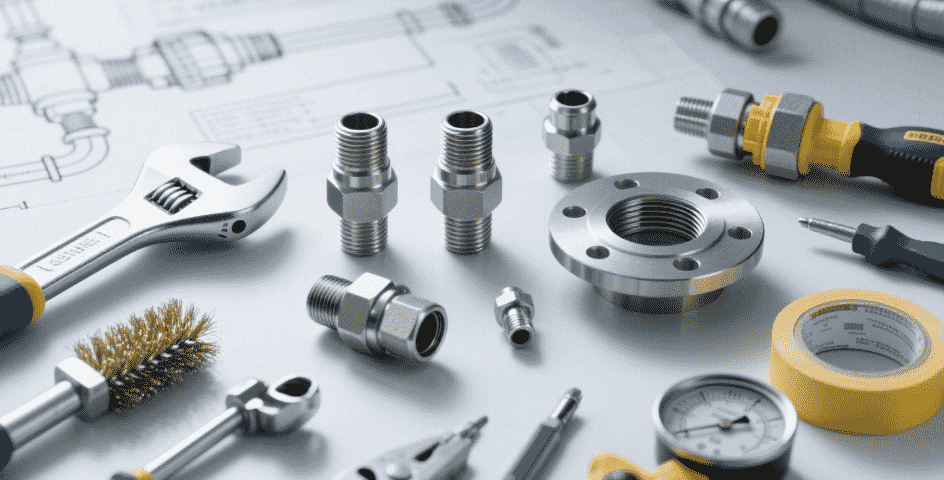
- Use a calibrated torque wrench: This ensures that each connector is tightened to the manufacturer’s recommended torque specification.
- Follow manufacturer guidelines: Always refer to the manufacturer’s instructions for the exact torque specifications for each connector type and size.
- Check the torque periodically: Over time, vibrations can cause connectors to loosen. Regularly check and re-tighten connectors as necessary.
Torqueing correctly prevents leaks and guarantees a stable connection. It also avoids over-stressing the components of your system, which can lead to premature wear and tear.
5. Perform Pressure Testing After Installation

After installing hydraulic connectors, it is essential to perform pressure testing to verify that everything is secure and functioning properly. Pressure testing identifies any weak points in the installation, including leaks that may not be visible under normal operation.
Steps for performing a successful pressure test:
- Gradually apply pressure: Start by slowly increasing the system pressure to check for leaks or failures.
- Monitor pressure gauges: Use pressure gauges to verify that the system is holding pressure and is functioning as intended.
- Inspect all connections: While testing, closely inspect all installed connectors for any signs of leakage or stress.
Pressure testing helps verify the integrity of the hydraulic connectors, allowing you to correct issues before they escalate into major problems.
6. Inspect Connectors Regularly
Even after the connectors are installed and the system is operational, regular inspection is crucial to ensure their continued performance. Regular inspections allow you to detect early signs of wear, corrosion, or leakage that could compromise the system’s functionality.
What to look for during inspections:
- Signs of leaks: Leaks are the most obvious signs of hydraulic connector problems. Even small leaks can reduce system efficiency and cause significant damage over time. Look for any fluid seepage around the connector.
- Seal condition: Over time, seals can degrade due to pressure, temperature fluctuations, and fluid exposure. Check seals regularly for cracks, wear, or softening.
- Corrosion or damage: Inspect connectors for any visible signs of corrosion, pitting, or general wear, especially if your system operates in harsh environments or extreme temperatures.
- Torque checks: Periodically check the torque on installed connectors. Even though torque should initially be applied according to specifications, vibrations and system pressure changes can loosen connectors over time.
Regular inspections allow businesses to avoid unexpected breakdowns and extend the life of hydraulic connectors and systems.
Key Considerations for Hydraulic Connector Installation


| Consideration | Importance |
|---|---|
| Right Connector Selection | Ensures compatibility with system pressures and fluids |
| Cleanliness Before Installation | Prevents contaminants from damaging the system |
| Alignment of Connectors | Prevents stress and damage to connectors and seals |
| Proper Torqueing | Secures connectors and prevents leaks or damage |
| Pressure Testing | Verifies system integrity and detects potential leaks |
| Regular Inspections | Ensures long-term performance and prevents system failures |
Conclusion
Proper hydraulic connector installation is critical for the performance and longevity of hydraulic systems. Following these six simple steps—choosing the right connector, ensuring cleanliness, properly aligning connectors, torqueing to specifications, performing pressure testing, and conducting regular inspections—will help ensure that your hydraulic system remains efficient and free of issues. By focusing on these key areas, businesses can avoid costly downtime and repairs, leading to a more reliable and productive operation.
FAQ
Q1: Why is cleanliness important during hydraulic connector installation?
A1: Cleanliness is crucial to prevent contaminants from entering the hydraulic system, which can lead to failures, leaks, or premature wear on system components.
Q2: What happens if hydraulic connectors are over-tightened?
A2: Over-tightening hydraulic connectors can deform the connector, damaging seals and causing leaks, ultimately leading to system failures.
Q3: How often should hydraulic connectors be inspected?
A3: Hydraulic connectors should be inspected regularly—at least every few months—depending on usage. More frequent inspections may be necessary in high-demand or high-pressure systems.
Q4: Can pressure testing identify hidden leaks in the system?
A4: Yes, pressure testing helps identify leaks that may not be visible under normal operating conditions, ensuring the system is tight and secure.
Q5: What should I do if I find a leak in the hydraulic connectors during an inspection?
A5: If a leak is detected, stop the system immediately and assess the source of the leak. Tighten the connectors or replace faulty seals as necessary. If the issue persists, consult a professional for further evaluation.
Q6: How can I avoid contamination during hydraulic connector installation?
A6: To avoid contamination, ensure all hydraulic components and connectors are cleaned thoroughly before installation. Use lint-free cloths, appropriate cleaning solvents, and cover open ports to prevent dust or debris from entering the system during assembly.
Q7: What tools are necessary for installing hydraulic connectors?
A7: Common tools for hydraulic connector installation include torque wrenches, alignment jigs, cleaning solvents, and proper-sized wrenches or pliers. Using the right tools ensures precision and reduces the risk of damage during installation.
Q8: Can hydraulic connector failure be prevented with regular maintenance?
A8: Yes, regular maintenance, including inspections, cleaning, and pressure testing, helps prevent hydraulic connector failure. Identifying wear and tear early allows for timely replacement of seals or connectors before significant damage occurs.
Q9: What is the impact of improper hydraulic connector alignment?
A9: Improper alignment can lead to excessive stress on connectors and seals, causing leakage, component wear, and potential system failure. Proper alignment ensures a secure connection, minimizing the risk of premature failure.
Q10: How can I tell if my hydraulic connectors are damaged during installation?
A10: Look for visible signs such as cracks, dents, or abnormal wear. You may also feel resistance during tightening or notice leaks after installation. If any irregularities are observed, the connector should be replaced immediately to avoid system malfunctions.