Table of Contents
Introduction
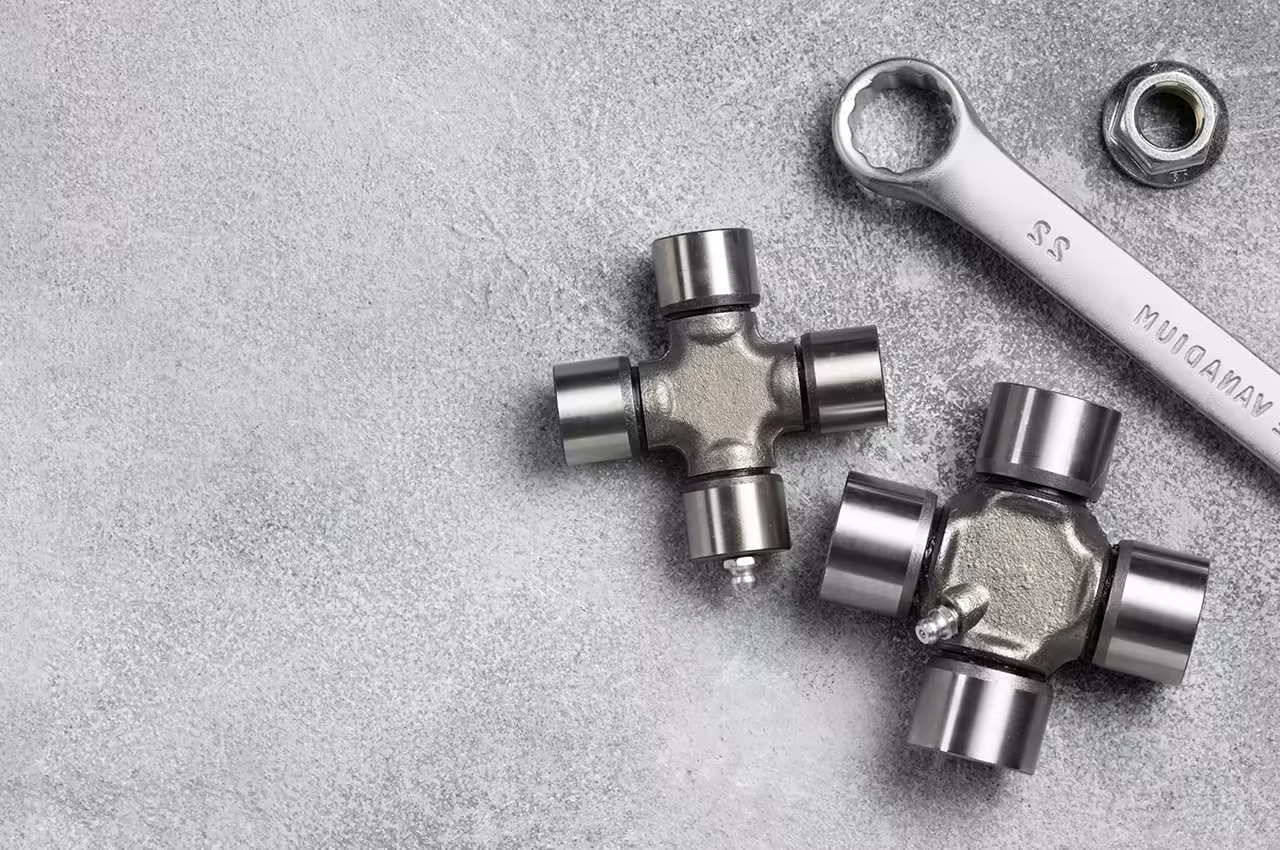
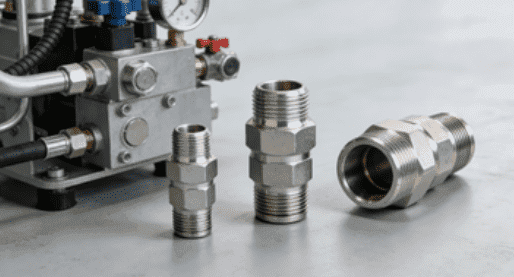
Flanged tube assemblies are essential components in many modern hydraulic and piping systems. Known for their strong sealing capacity, quick installation, and compliance with international standards such as SAE, these systems are widely used in industries that demand robust and reliable pressure handling—such as manufacturing, marine engineering, automotive, and heavy machinery.
A flanged tube setup, often paired with flange clamps and bolts, plays a crucial role in connecting sections of a pipeline, particularly where high-pressure fluid transmission is involved. Despite its strength and reliability, improper installation can lead to costly failures, reduced efficiency, or even catastrophic breakdowns.
This article outlines the five most common installation errors associated with flanged tube systems. By understanding and avoiding these pitfalls, engineers and technicians can ensure a more secure and long-lasting connection.
Understanding the Role
What Is a Flanged Tube?
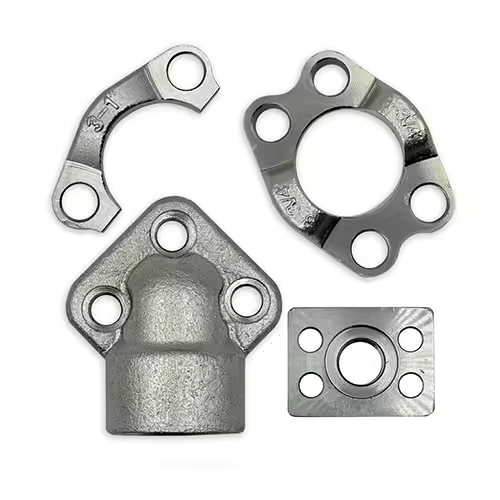
A flanged tube is a section of piping or tubing equipped with a flange—a flat, protruding rim used to secure the tube to another component or pipeline. These flanges are typically fastened together using bolts and are designed to withstand considerable mechanical stress, vibration, and internal pressure.
Where Are Flanged Tube Systems Used?
These systems are used in:
- Hydraulic machinery (excavators, cranes, industrial robots)
- Automotive assembly lines
- Marine propulsion and piping
- Power plants and refineries
- Agricultural equipment
In these applications, the use of high-quality flange clamps and bolts is essential for leak-proof connections that can withstand continuous operation under extreme conditions.
Common Installation Mistakes with Flanged Tube Systems
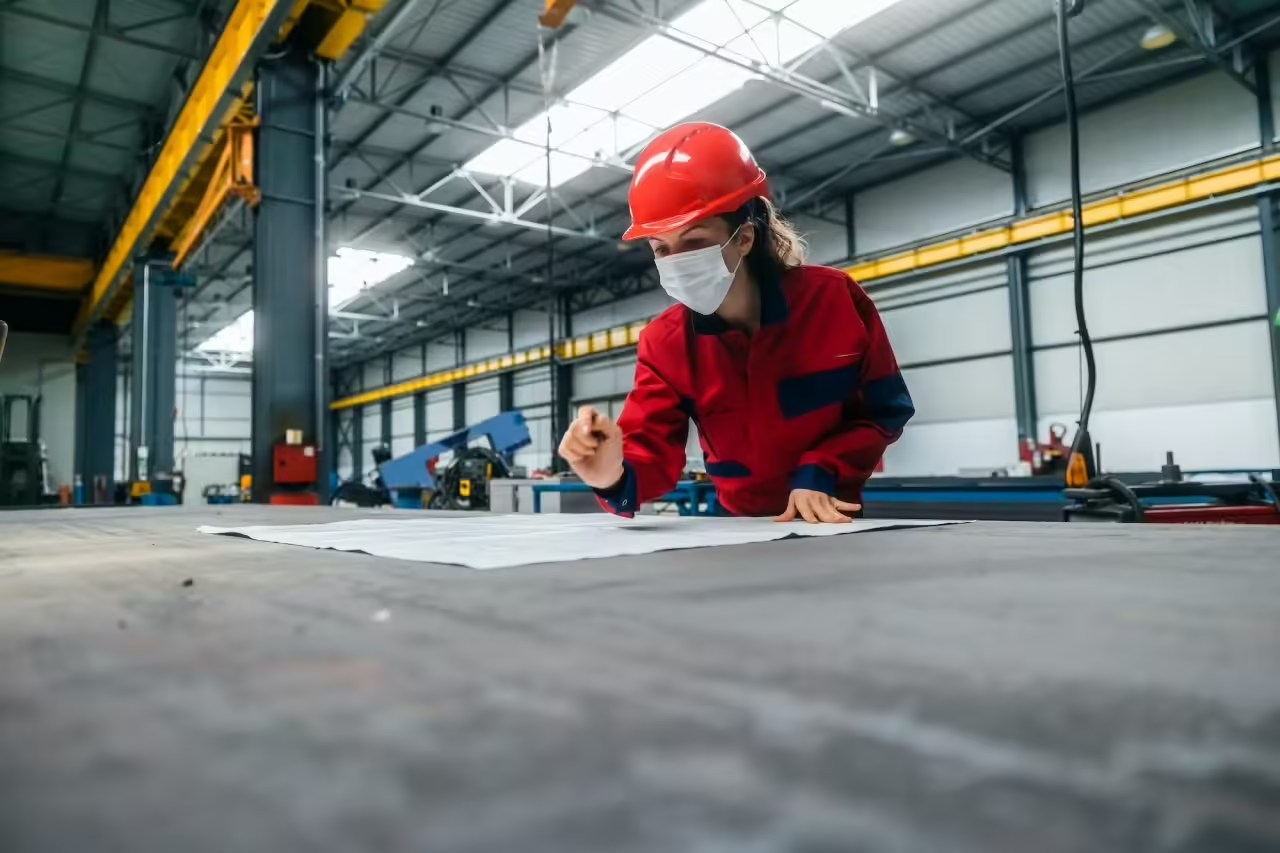
The installation of flanged tube systems is a critical process that directly impacts the safety, durability, and performance of hydraulic or piping infrastructures. Even though these systems are designed for robustness and ease of assembly, improper installation can cause a cascade of issues ranging from minor leaks to catastrophic failures. In this section, we highlight five of the most common installation errors that installers and engineers should vigilantly avoid to ensure the reliability of their flanged tube assemblies.
1. Misalignment of Flanged Tube Connections
One of the most frequent mistakes encountered during flanged tube installation is the misalignment of flange faces. Flanges are designed to mate precisely; when their alignment is off, it can compromise the sealing surface and overall structural integrity.
Why Alignment Matters:
Proper flange alignment ensures even pressure distribution across the gasket surface when bolts are tightened. Misalignment results in localized stress points that can lead to flange warping, uneven bolt load, and eventually, seal failure. Moreover, misaligned flanges can place undue stress on connected tubing or piping, accelerating wear and fatigue.
Common Causes of Misalignment:
- Skewed flange faces: Manufacturing tolerances or handling damage may cause flange surfaces to become non-parallel or uneven.
- Incorrect bolt tightening sequences: Uneven bolt torque can pull flanges out of alignment.
- Poor pipe routing: Inadequate planning or inaccurate measurements cause pipes to be forced into unnatural positions.
Best Practices to Avoid Misalignment:
- Use precision alignment tools such as flange alignment pins, laser alignment systems, or dial indicators during assembly.
- Verify that bolt holes on both flanges line up perfectly before inserting bolts.
- Follow a cross-pattern bolt tightening sequence, gradually increasing torque in multiple passes to evenly clamp the flanges.
- Avoid forcing flanges together with excessive force, which can distort the flange or damage the gasket.
2. Using Incorrect Torque on Clamping Bolts
The integrity of a flanged tube connection heavily depends on the proper torque applied to the clamping bolts. Both insufficient and excessive torque can cause severe problems.
Risks of Incorrect Torque:
- Under-torquing: If bolts are not tightened enough, the flanges may not press firmly against the gasket, allowing fluid or gas to leak. Additionally, vibration from operating equipment can cause bolts to loosen over time, further reducing sealing efficiency.
- Over-torquing: Excessive bolt torque can deform the flange faces, damage the gasket material, or even cause bolt failure through stretching or breaking. Over-tightening crushes the gasket, which reduces its ability to form a proper seal.
How to Correctly Torque Bolts:
- Always use a calibrated torque wrench suitable for the bolt size and material.
- Adhere strictly to the torque specifications provided by the flange or gasket manufacturer, often guided by standards such as SAE or ANSI.
- Apply torque incrementally, following a recommended bolt tightening pattern (usually a star or cross pattern) to balance the clamping forces.
- Check torque values periodically after initial operation, especially in systems subject to vibration or thermal cycling.
3. Skipping Flange Surface Inspection
The sealing effectiveness of a flanged tube assembly relies heavily on the condition of the flange faces. Surface defects—no matter how minor—can compromise the seal and lead to leaks.
Common Surface Defects:
- Scratches or gouges: Small scratches can create pathways for fluids to escape under pressure.
- Rust or corrosion: Oxidation can roughen the flange surface, preventing a tight seal.
- Debris or dirt: Particulate matter trapped between the flange and gasket disrupts uniform compression.
Why This Step Is Often Overlooked:
In busy industrial environments, installers may rush assembly or assume that new components come perfectly prepared, skipping critical surface checks.
Inspection and Preparation Guidelines:
- Clean both flange surfaces thoroughly with appropriate solvents or cleaning agents to remove oil, grease, or dirt.
- Visually inspect for any physical damage or corrosion.
- When high sealing performance is required, use a flatness gauge or surface roughness meter to verify flange surface smoothness and flatness.
- If defects are detected, consider resurfacing or replacing the flange before proceeding.
4. Mixing Incompatible Materials
Material compatibility is a crucial consideration in flanged tube systems, especially in applications involving high pressure, temperature extremes, or corrosive media. Using mismatched materials can result in galvanic corrosion, reduced mechanical performance, and premature system failure.
Common mistakes:
- Pairing stainless steel bolts with aluminum flanges
- Using low-grade gaskets with high-pressure systems
Solution:
Match material grades for all components. When in doubt, consult with your supplier to ensure compatibility with system pressure, temperature, and chemical exposure.
5. Ignoring Pipe Support and Load Distribution
A frequently overlooked but critical mistake is inadequate support for the piping system. Flanged tube connections are designed to provide sealing and mechanical joining but are not intended to bear the weight or dynamic loads of the piping itself.
Results:
- Flange deformation
- Bolt loosening due to vibration
- Pipe sagging and misalignment
Preventative Action:
Install adequate pipe supports and anchors at regular intervals. Ensure that no axial or lateral force is transmitted to the flanged joint.
Table: Comparison of Common Flanged Tube Installation Scenarios
| Installation Factor | Ideal Practice | Common Mistake | Resulting Issue |
|---|---|---|---|
| Flange Alignment | Use alignment tools for perfect matching | Misaligned bolt holes | Seal failure, flange distortion |
| Bolt Torque | Use torque wrench per spec | Hand-tightening without measurement | Gasket crushing or leakage |
| Surface Cleanliness | Clean and inspect for debris or rust | Assembly without surface check | Micro-leaks, premature seal failure |
| Material Compatibility | Use same or compatible materials | Mixing metals without corrosion control | Galvanic corrosion, mechanical failure |
| Pipe Support | Use hangers and guides to relieve stress | Letting flange support pipe weight | Flange fatigue, misalignment over time |
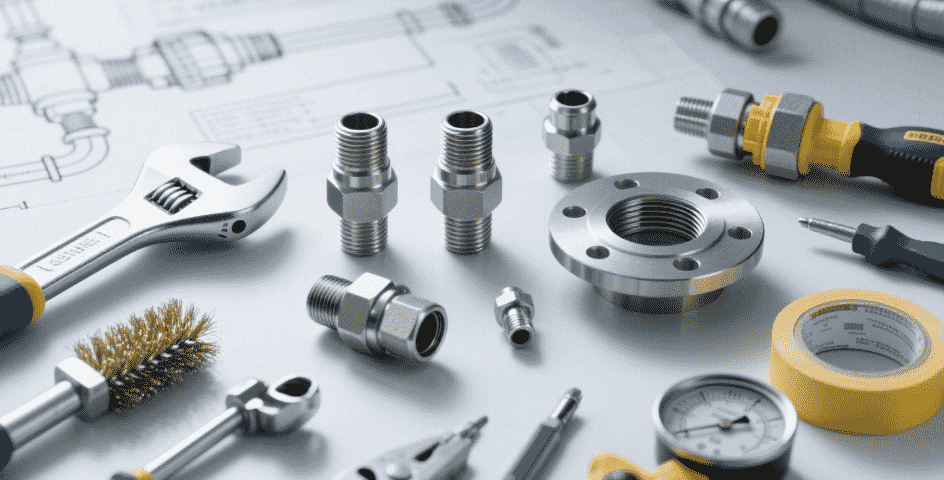
Best Practices for Installing a Flanged Tube Clamp System


Choose Quality Components
Whether it’s the flange, the bolts, or the gaskets, quality directly affects performance. Look for products with:
- SAE or ISO certification
- Proven pressure resistance
- Corrosion resistance for your application
Follow the Manufacturer’s Instructions
Installers should always consult the technical datasheets provided with the flanged tube fittings. These documents outline:
- Recommended torque values
- Acceptable gasket types
- Temperature and pressure limits
Train Installation Personnel
Poor training is one of the leading causes of improper flanged tube installation. Conduct workshops, provide manuals, and ensure that installation staff are certified where needed.
Use Appropriate Tools
Specialized tools such as torque wrenches, flange spreaders, and alignment pins can drastically reduce installation errors and increase speed.
Conclusion
Installing a flanged tube system isn’t simply about tightening bolts. It’s a precision-driven task that demands attention to alignment, material compatibility, surface integrity, and proper clamping force.
By recognizing and avoiding the five common mistakes outlined in this article, you can:
- Prevent leaks and mechanical failures
- Extend the life of your hydraulic or piping system
- Reduce downtime and maintenance costs
- Ensure the safety and reliability of your infrastructure
Incorporating industry best practices, using certified components, and training your workforce will help your operations achieve better performance and compliance.
FAQ
What tools are essential for flanged tube installation?
Essential tools include a calibrated torque wrench, alignment pins, flange spreaders, and surface inspection tools. These help ensure proper tightening, alignment, and surface integrity.
How do I know if the flanged tube system is leaking?
Look for visible signs such as oil or fluid seepage, pressure drops, or unusual noise from the flange area. Performing a pressure test after installation is recommended.
Can I reuse flanged tube gaskets?
Generally, no. Gaskets are designed for single-use to ensure optimal sealing. Reusing them can result in uneven compression and leakage.
How often should flanged tube systems be inspected?
Inspection frequency depends on the system’s operating conditions. In high-pressure environments, monthly checks are advisable, while lower-pressure systems may be inspected quarterly.
Are SAE flange clamps compatible with all tube sizes?
SAE flange clamps are standardized, but compatibility depends on the tube’s diameter, pressure class, and application. Always verify sizing with your supplier or technical documentation.