Key Takeaways
- Typical errors in using quick release hose connectors
- How installation mistakes reduce system safety and efficiency
- Material and compatibility issues to watch for
- Comparison of connector types and reinforcement strategies
- Maintenance tips to prevent premature failure
- FAQs addressing common user concerns
Introduction
Quick release hose connectors are designed for convenience and efficiency, but improper selection or usage can lead to leaks, downtime, or even hazardous incidents. Even experienced operators often overlook minor errors that escalate into expensive repairs.
By understanding common mistakes, users can ensure safer operations and extend the life of both connectors and hoses. This guide highlights frequent pitfalls, with practical tips and comparisons for optimal performance.
Table of Contents
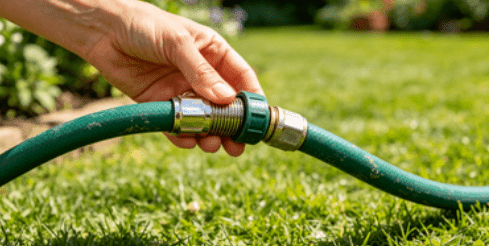
Common Mistakes in Using Quick Release Hose Connectors
Incorrect Selection of Connector Type
Choosing the wrong connector for your system pressure or fluid type is a leading cause of failure. Quick release hose connectors come in multiple variants, such as push-to-connect, camlock, or threaded types, each suitable for specific applications.
Push-to-Connect vs Camlock
Push-to-connect connectors offer fast assembly but limited pressure handling. Camlock connectors handle higher pressures and are ideal for industrial fluid transfer.
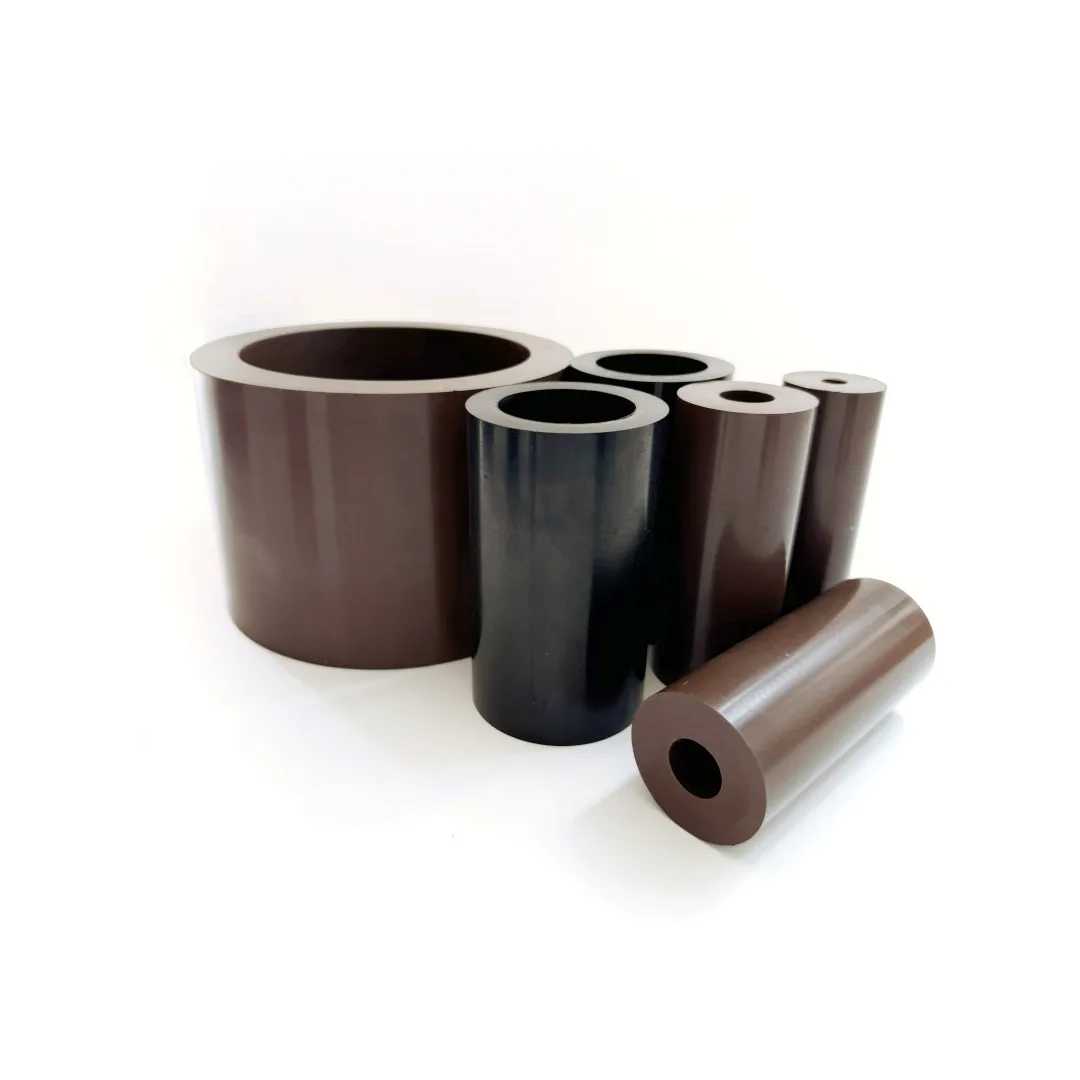
Ignoring Material Compatibility
Quick release hose connectors are made of brass, stainless steel, or polymer. Selecting a material incompatible with the fluid can cause corrosion, swelling, or chemical degradation, reducing service life.
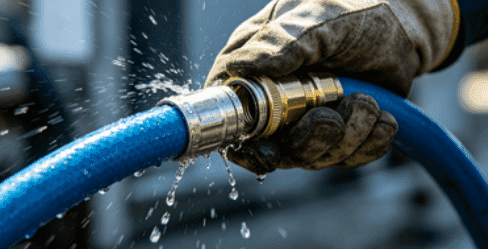
Improper Installation Techniques
Incorrect torque, misaligned connections, or bypassing the locking mechanism can result in leaks or complete disconnection under pressure.
Over-Tightening vs Under-Tightening
Over-tightening can damage threads, while under-tightening reduces seal integrity. Both errors compromise system safety.
Skipping Pressure and Temperature Ratings
Users sometimes install connectors rated below the system’s maximum pressure or outside its operating temperature range. This oversight can lead to failure during peak load or extreme environmental conditions.
Comparison of Quick Release Hose Connector Types
| Connector Type | Max Pressure | Typical Use Case | Pros | Cons |
|---|---|---|---|---|
| Push-to-Connect | Up to 200 PSI | Low-pressure fluid systems | Fast installation, no tools needed | Not suitable for high-pressure |
| Camlock | Up to 600 PSI | Industrial fluid transfer | Secure, durable, high pressure | Slightly slower to connect/disconnect |
| Threaded Quick Release | Up to 400 PSI | Mobile equipment & hydraulics | Strong seal, versatile | Requires proper torque |
This table helps operators compare features and select the most suitable connector type for their system requirements.
Conceptual Mistakes and How to Avoid Them
Neglecting Connector Maintenance
Even high-quality connectors degrade over time. Dust, chemical residue, or debris can impair sealing and engagement.
Assuming All Hoses Fit All Connectors
Not all hoses are compatible with every quick release connector. Pay attention to internal diameter, reinforcement type, and coupling design.
Misunderstanding Reinforcement Needs
High-pressure systems often require hose reinforcement, like braided or spiral layers. Using a standard hose with a high-pressure quick release connector increases the risk of disconnection or rupture.
Installation Best Practices
Proper Alignment
Always align the connector with the hose and mating port before engaging the locking mechanism. Misalignment stresses the connector and reduces sealing performance.
Torque and Lock Verification
Check manufacturer torque specifications and ensure all locking tabs or rings are fully engaged. This step prevents leaks and accidental disconnections.
Routing Considerations
Avoid sharp bends or excessive tension near quick release hose connectors. Supporting hoses and connectors with clamps or brackets reduces vibration and wear.
Maintenance Checklist
- Inspect connectors for corrosion, cracks, or abrasion
- Clean connector surfaces before engagement
- Replace worn O-rings or seals promptly
- Monitor pressure performance and check for leaks after installation
- Keep a record of usage hours to anticipate end-of-life replacement
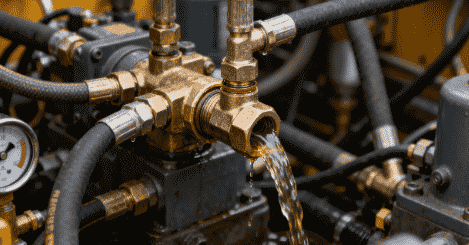
Real-World Example: Industrial Fluid Transfer Failure
At a chemical plant, a quick release hose connector failed due to improper material selection. Stainless steel connectors were installed on a highly acidic system without considering chemical compatibility. Minor leaks initially went unnoticed, leading to a larger spill and 12-hour downtime.
Lesson: Always match connector material with fluid type and consult manufacturer chemical compatibility charts.
FAQ
Can I use any quick release connector for my hydraulic system?
No. Always verify pressure rating, material compatibility, and hose diameter before installation.
How do I know if the connector is fully engaged?
Most connectors have visual or audible indicators, such as locking tabs or “click” sounds, to confirm engagement.
How often should I replace quick release connectors?
Depending on usage and environment, connectors may last 1–5 years. Regular inspection is critical for safety.
What’s the safest way to disconnect under pressure?
Always depressurize the system before disengaging the connector to prevent sudden fluid release or injury.
Are push-to-connect connectors reliable for industrial applications?
They are best for low-pressure or temporary setups. For high-pressure or permanent installations, camlock or threaded connectors are recommended.
Conclusion
Quick release hose connectors offer speed and convenience, but only when selected, installed, and maintained properly. Avoiding common mistakes such as incorrect type selection, material incompatibility, and poor installation ensures safe, efficient, and long-lasting operation.
Following proper selection guidelines, inspection routines, and best practices significantly reduces system downtime, prevents leaks, and enhances productivity in fluid transfer applications.