Table of Contents
Introduction
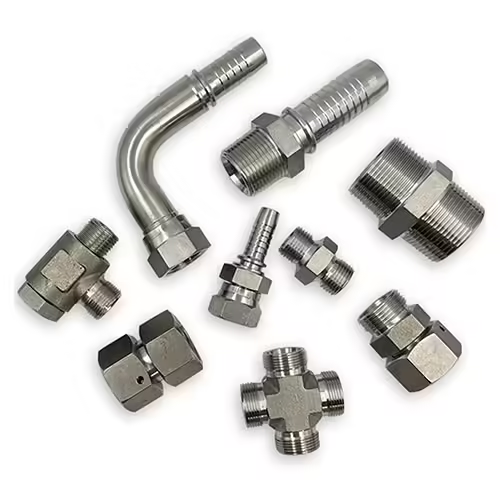
Small hydraulic fittings are essential components in fluid power systems, playing a critical role in maintaining the integrity and performance of hydraulic lines. These fittings ensure leak-free connections that withstand high pressures and harsh operating conditions. Proper installation of small hydraulic fittings is not just a technical necessity but a key factor in avoiding costly downtime and enhancing system reliability.
In industries ranging from manufacturing and construction to agriculture and automotive, hydraulics power countless machines and tools. Even the smallest fittings, if improperly installed, can become points of failure leading to leaks, pressure drops, or complete system breakdown. This comprehensive guide provides 9 expert-recommended installation tips designed specifically for small hydraulic fittings, offering practical advice, common pitfalls to avoid, and maintenance best practices.
By following these tips, operators and technicians will ensure secure connections, extend equipment life, and maximize the efficiency of hydraulic systems.
Tip 1: Choose the Right Small Hydraulic Fitting Type for Your Application
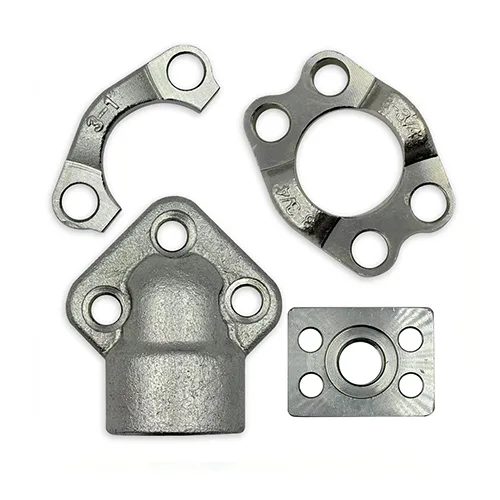
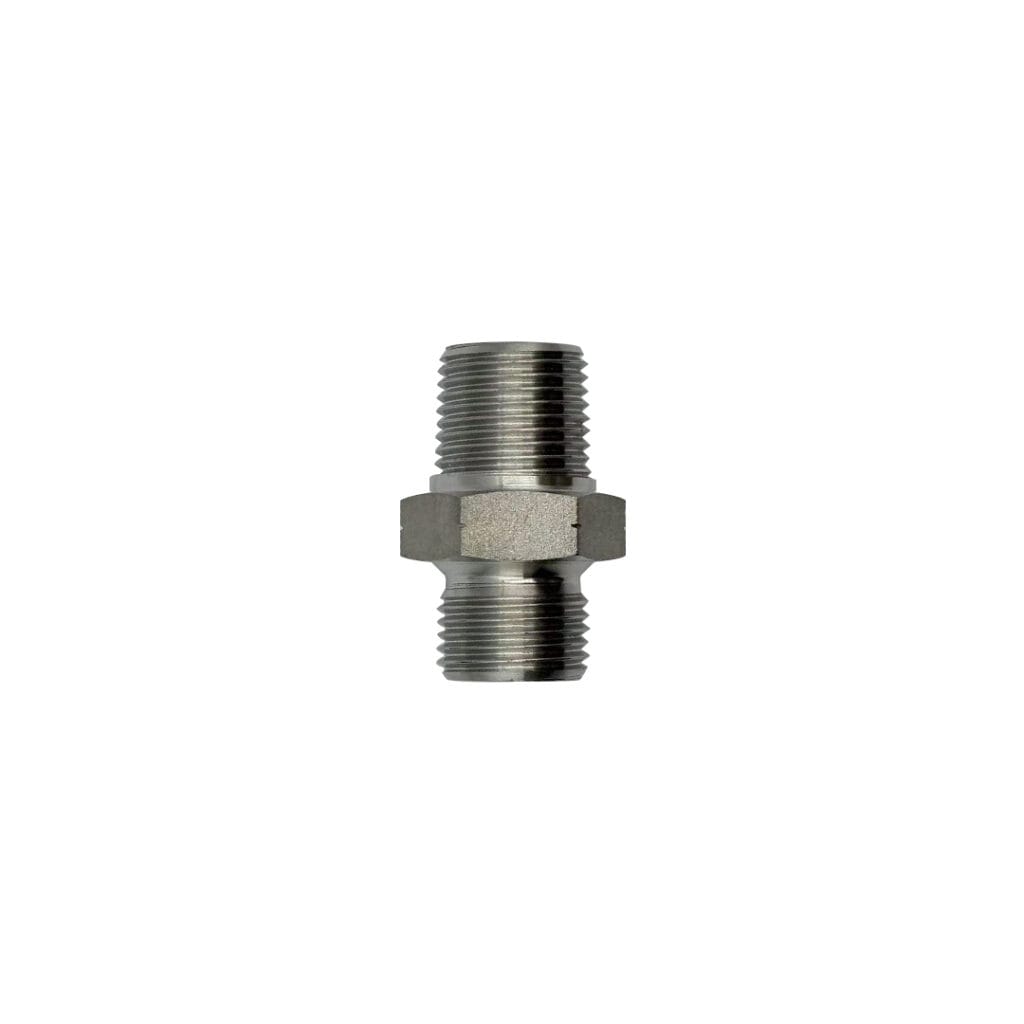
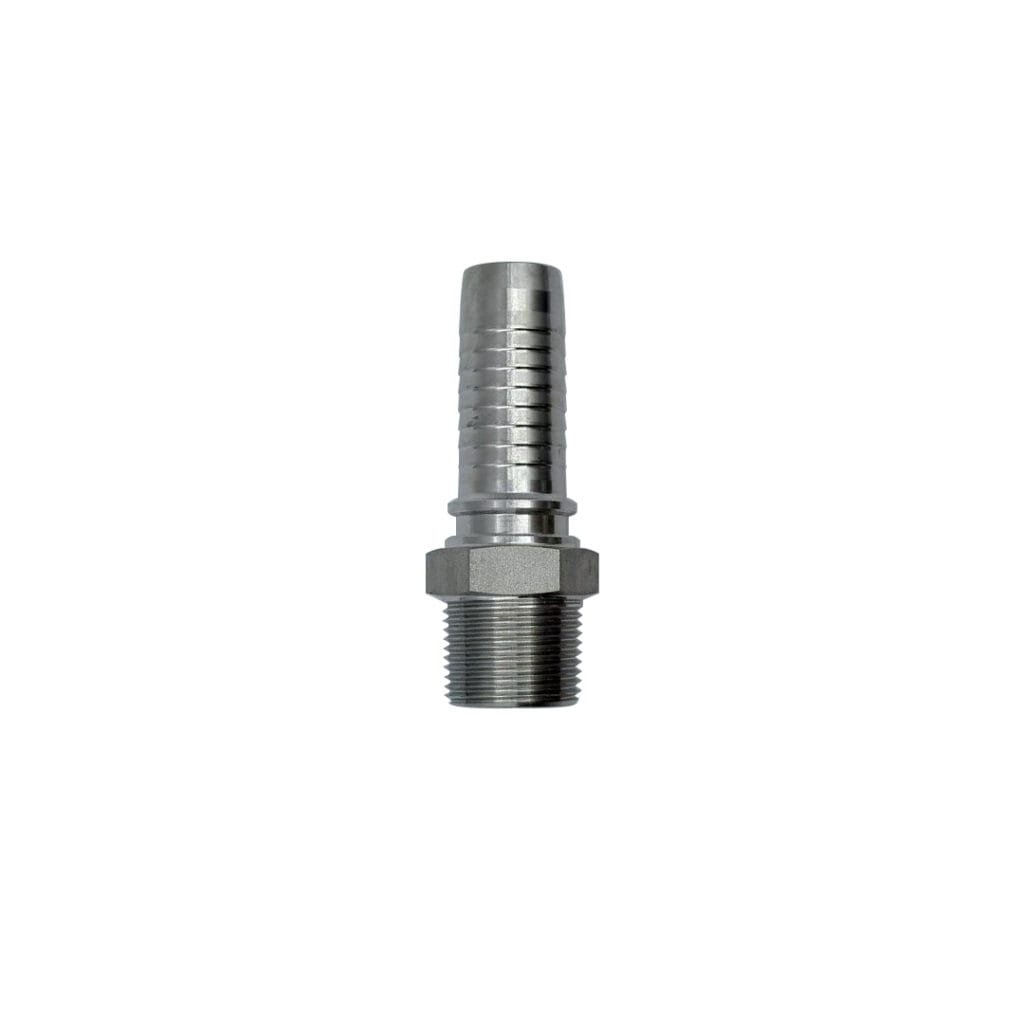
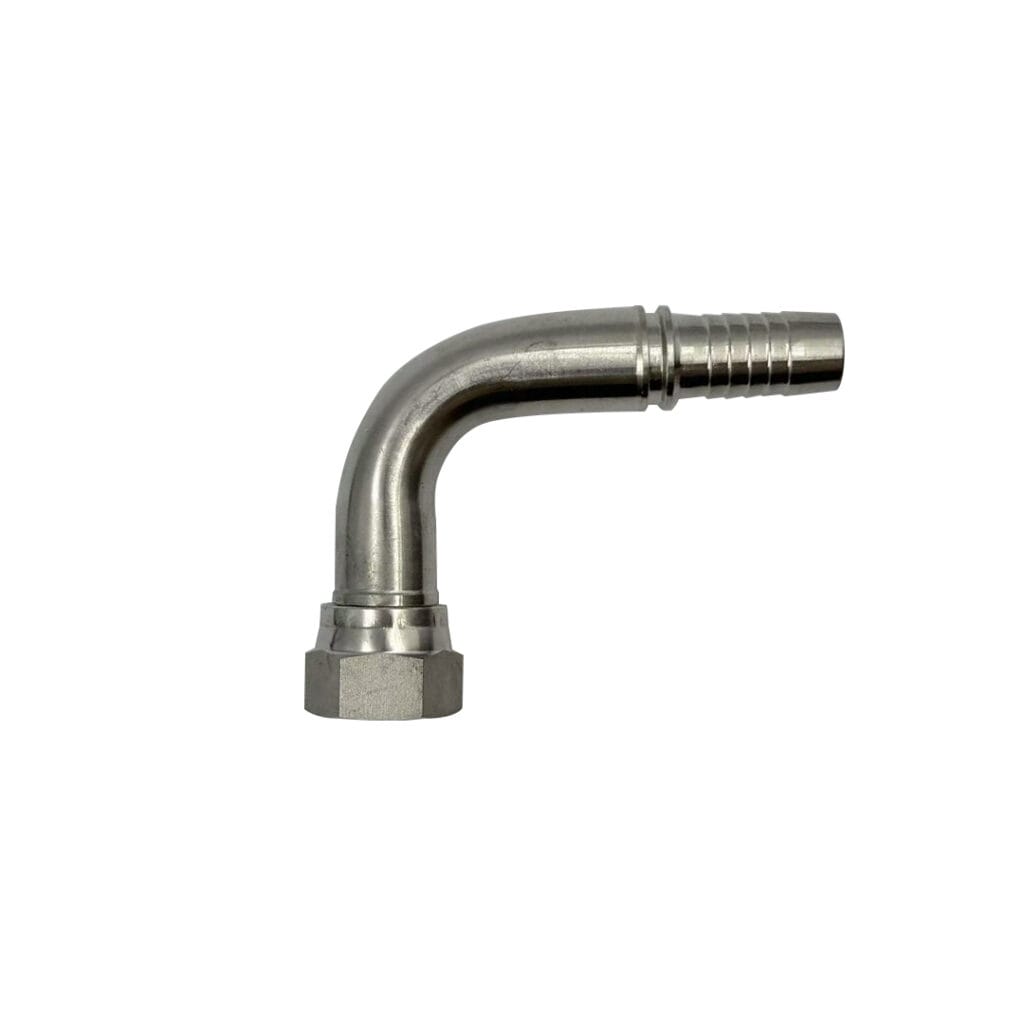
Selecting the correct fitting type is the foundation of any successful hydraulic connection. Small hydraulic fittings come in various designs, including flare fittings, compression fittings, O-ring face seal fittings, and push-to-connect fittings, each suited to different pressures, fluids, and operating environments.
For instance:
- Flare fittings are excellent for high-pressure applications and provide reliable sealing without additional sealants.
- Compression fittings offer ease of installation but may not be ideal for extremely high-pressure scenarios.
- O-ring face seal fittings provide excellent leak prevention, especially in dynamic or vibrating systems.
- Push-to-connect fittings simplify assembly in low-pressure, quick-change setups.
When selecting a fitting, consider critical parameters such as operating pressure, temperature range, fluid compatibility (hydraulic oil, water-glycol mixtures, etc.), and environmental conditions (corrosive atmosphere, outdoor exposure). Using a fitting incompatible with your application can cause premature failure and safety hazards.
Consult manufacturer catalogs and datasheets to match fitting specifications precisely to your system’s needs. Remember that investing time in this step saves significant troubleshooting effort later.
Tip 2: Prepare Tubing and Components Thoroughly Before Installation
Proper preparation of tubing and components is often overlooked but is vital for ensuring a secure and long-lasting connection when working with small hydraulic fitting assemblies. Tubing ends must be cut cleanly and squarely using specialized tubing cutters designed for small hydraulic fitting applications. Avoid saws or abrasive tools that produce rough edges or burrs, as these imperfections can damage the sealing surfaces of small hydraulic fittings and cause leaks.
After cutting:
- Deburr the tubing inside and outside edges using a deburring tool or file to smooth sharp edges, ensuring a proper seal with the small hydraulic fitting.
- Chamfer the tube ends slightly to aid in proper seating within small hydraulic fittings.
- Clean all tubing and small hydraulic fitting parts with lint-free cloths and compatible solvents to remove oil, dust, and debris.
Contaminants inside the hydraulic line or on the sealing surfaces of small hydraulic fittings can lead to poor seals, corrosion, or damage to internal system components like valves and pumps.
Taking time to prepare each component meticulously before installing small hydraulic fittings reduces the risk of installation errors and improves the hydraulic system’s operational lifespan.
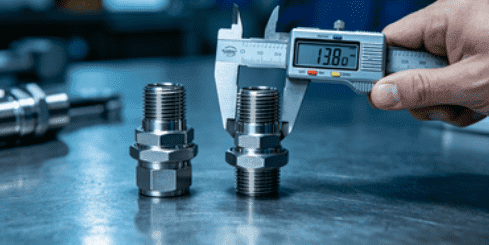
Tip 3: Follow Manufacturer’s Torque Specifications Precisely
Correct torque application during installation is one of the most critical steps in preventing leaks and mechanical Correct torque application during small hydraulic fitting installation is one of the most critical steps in preventing leaks and mechanical damage. Under-tightening small hydraulic fittings leads to insufficient sealing pressure, allowing fluid to escape. Conversely, over-tightening small hydraulic fittings can strip threads, deform sealing surfaces, or crack fittings, compromising system integrity.
Each small hydraulic fitting type and size has manufacturer-recommended torque ranges based on material, thread design, and pressure rating. Always refer to these specifications. Using a calibrated torque wrench ensures precision and repeatability during small hydraulic fitting installation.
It’s advisable to:
- Perform torque in multiple stages (e.g., finger-tight first, then final torque) on the small hydraulic fitting.
- Re-check torque after initial system pressure tests as some small hydraulic fittings settle or shift slightly.
- Document torque values during small hydraulic fitting installation for maintenance records.
By adhering strictly to torque guidelines for small hydraulic fittings, you enhance joint reliability and prevent costly rework.
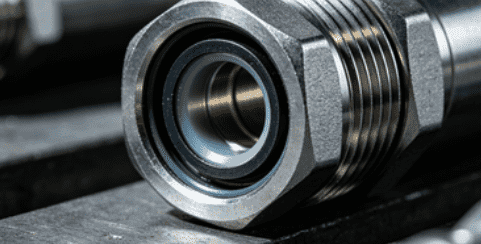
Tip 4: Inspect Threads and Sealing Surfaces Before Assembly

Damaged threads and compromised sealing surfaces are a major cause of fitting failure. Prior to assembly, conduct thorough visual inspections on both male and female threads for any signs of:
- Cross-threading or misalignment
- Chips, cracks, or galling
- Dirt, corrosion, or debris
Similarly, check sealing surfaces such as O-rings, gaskets, or face seals for any tears, flattening, or contamination. Replace any suspect parts immediately.
Many hydraulic failures result from installing fittings with unnoticed damage, which causes leaks or pressure loss. Simple pre-installation inspections prevent these issues and save downtime.
Tip 5: Properly Align Tubing and Fittings to Avoid Stress and Leaks
Mechanical stress on hydraulic connections arises when tubing and fittings are misaligned or improperly supported. Even small angular misalignments cause uneven loads that fatigue fittings and tubing, eventually leading to cracks or leaks.
To ensure alignment:
- Use appropriate tubing supports, clamps, and brackets to maintain straight, vibration-free runs.
- Avoid forcing fittings or bending tubing during installation.
- Consider thermal expansion and contraction in design to allow some flexibility.
Stress-free connections improve sealing effectiveness and reduce maintenance frequency. They also enhance operator safety by preventing sudden fitting failures under pressure.
Central Table: Summary of Small Hydraulic Fitting Installation Tips
| Tip Number | Key Action | Common Mistakes | Recommended Tools/Practices |
|---|---|---|---|
| 1 | Select correct fitting type | Wrong fitting for pressure or fluid | Review specs; consult datasheets |
| 2 | Clean and prepare tubing and fittings | Burrs, dirt contamination | Tubing cutters, deburring tools, solvents |
| 3 | Apply correct torque | Under-tightening or over-tightening | Calibrated torque wrench |
| 4 | Inspect threads and seals | Damaged or dirty threads/seals | Visual inspection, replacement if needed |
| 5 | Ensure proper alignment | Misalignment causing stress | Clamps, supports, design flexibility |
| 6 | Use thread sealants only if recommended | Using wrong or excessive sealant | Follow manufacturer’s guidelines |
| 7 | Perform pressure testing post-install | Skipping or improper testing | Hydrostatic or pneumatic testing |
| 8 | Conduct regular maintenance inspections | Ignoring early signs of wear | Scheduled checks, replacement programs |
| 9 | Train installation personnel | Untrained operators causing damage | Training programs and refresher courses |
Tip 6: Use Thread Sealants Only When Recommended
Not every small hydraulic fitting requires thread sealants. Many fittings, especially flare and O-ring face seal types, rely on metal-to-metal or elastomeric seals. Improper use of sealants can lead to contamination of hydraulic fluid, clogging of fine system passages, or seal failure.
If a sealant is required:
- Use only products approved by the fitting manufacturer.
- Apply a thin, even layer on the male threads, avoiding the first few threads to prevent excess entering the system.
- Avoid using generic pipe thread tapes unless explicitly recommended.
Proper sealant use enhances sealing without risking system contamination or thread damage.
Tip 7: Conduct Pressure Testing After Installation
After assembly, pressure testing verifies the integrity of all fittings under actual operating conditions. Testing ensures there are no leaks and that fittings hold the rated pressure safely.
Common test methods include:
- Hydrostatic testing: Pressurizing the system with water or other incompressible fluids.
- Pneumatic testing: Using compressed air or nitrogen with strict safety precautions.
Testing should be done gradually, monitoring for pressure drops or visible leaks. Document the results for quality assurance.
Skipping or rushing pressure testing increases the risk of undetected leaks causing equipment damage or safety hazards.
Tip 8: Implement Routine Maintenance and Inspection Programs
Even well-installed small hydraulic fittings are subject to wear, corrosion, vibration loosening, or thermal cycling damage over time. Establishing a regular maintenance and inspection schedule helps catch issues before they escalate.
Maintenance best practices include:
- Visual inspections every 6 to 12 months depending on usage.
- Checking for oil leaks, corrosion, or loose fittings.
- Re-torquing fittings where applicable.
- Replacing worn seals or fittings proactively.
Good record-keeping helps track component life cycles and informs replacement planning to avoid unplanned downtime.
Tip 9: Provide Proper Training to Installation Personnel
The reliability of small hydraulic fittings depends heavily on installer skill. Untrained or poorly trained personnel often cause common mistakes such as over-torquing, cross-threading, or poor cleanliness, which compromise system performance.
Effective training programs should include:
- Theoretical overview of fitting types, materials, and functions.
- Hands-on practice with tools and installation steps.
- Safety precautions specific to hydraulic systems.
- Manufacturer’s best practices and troubleshooting.
Investing in personnel training pays dividends in reduced installation errors, fewer leaks, and safer operations.
Conclusion
Following these 9 expert-recommended installation tips will significantly improve the reliability, efficiency, and safety of hydraulic systems using small hydraulic fittings. From selecting the appropriate fitting to meticulous preparation, correct torque application, and ongoing maintenance, every step plays a crucial role.
Hydraulic systems are critical to modern industrial operations, and even minor leaks or failures can lead to costly downtime and repairs. By adopting these best practices, technicians and engineers ensure their systems perform optimally under demanding conditions.
Consistent training and adherence to manufacturer guidelines further enhance installation quality, extending equipment life and protecting investment.
FAQ
Q: How important is torque when installing small hydraulic fittings?
A: Torque is crucial. Incorrect torque can cause leaks or damage. Always use a calibrated torque wrench and follow manufacturer specs.
Q: Can small hydraulic fittings be reused?
A: Generally not recommended. Inspect fittings carefully; replace any showing wear or damage.
Q: What thread sealants are safe for small hydraulic fittings?
A: Use only sealants approved by the fitting manufacturer and compatible with your system’s fluid.
Q: How often should fittings be inspected?
A: Typically every 6 to 12 months depending on operating conditions.
Q: What causes the most leaks in small hydraulic fittings?
A: Common causes include improper torque, damaged threads, misalignment, and contamination during installation.